Shower Grouting Services Overview for Property Owners
Visitors will learn about local contractors who specialize in shower grouting services and how they can help improve and restore shower areas.
- - Residential property owners seeking to refresh or repair shower grout to improve bathroom appearance and functionality.
- - Commercial building managers needing reliable local contractors for shower grout restoration or maintenance.
- - Home improvement enthusiasts looking to connect with experienced service providers for shower tile sealing and grout cleaning.
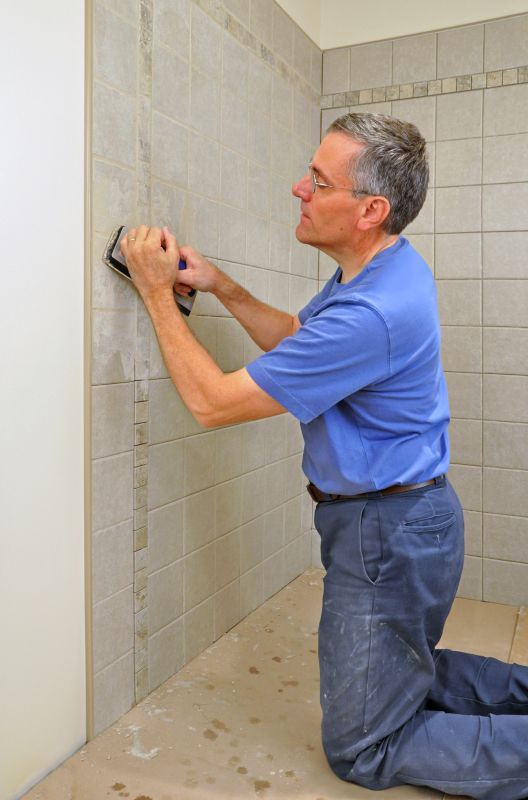
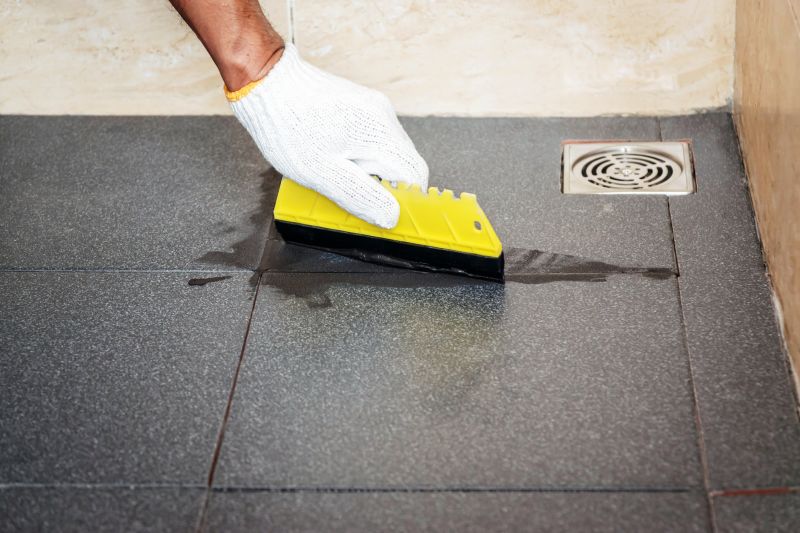
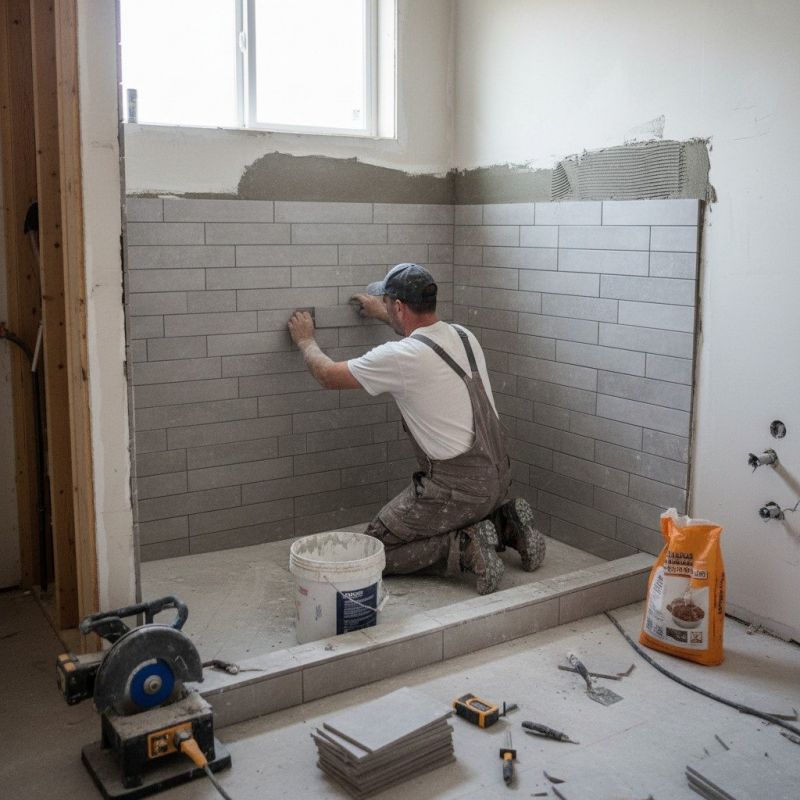
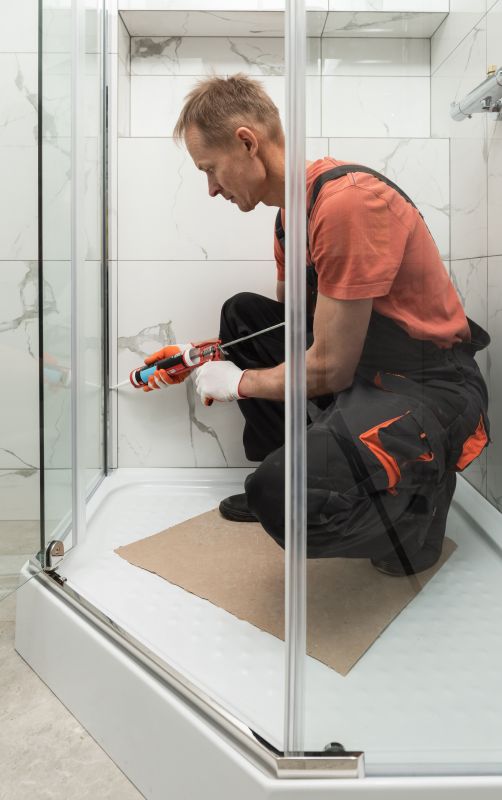
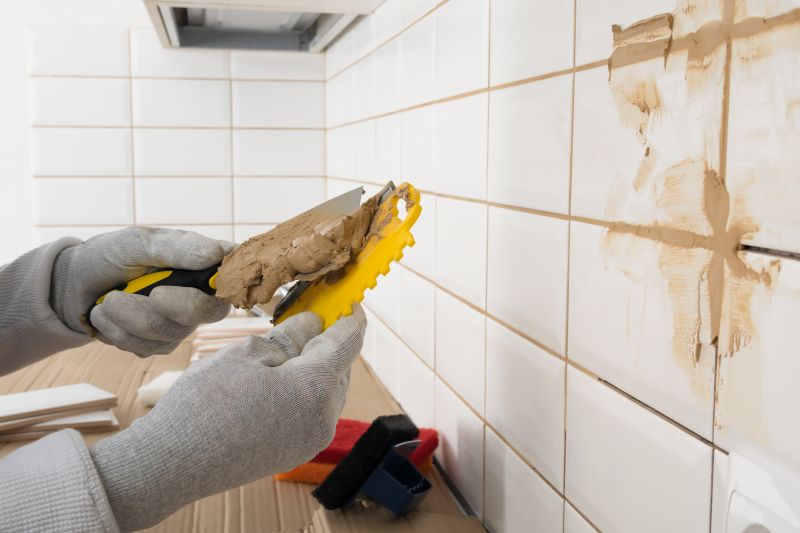
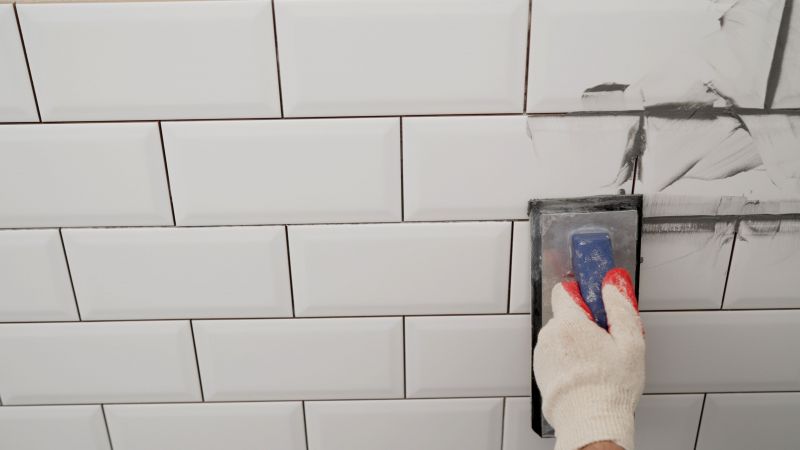
Shower grouting services are essential for maintaining the integrity and appearance of tiled shower enclosures. Over time, grout can become cracked, stained, or deteriorated due to moisture exposure and regular use. Local contractors specializing in shower grouting can assess the condition of existing grout, remove damaged sections, and apply fresh, durable grout to restore the shower's functionality and aesthetic appeal. Property owners seeking these services typically look for experienced professionals who understand proper application techniques and use quality materials to ensure long-lasting results.
Connecting with local service providers allows property owners to compare options and find the right fit for their specific needs. These professionals handle a variety of tasks, from re-grouting existing tile to sealing and waterproofing to prevent future issues. Customers can expect straightforward, practical service from local pros who are familiar with common shower maintenance challenges. Whether addressing mold, cracks, or general wear, local contractors provide solutions aimed at improving the durability and appearance of shower spaces.
This guide provides insights to help compare and evaluate local contractors specializing in shower grouting services. It offers useful information to assist in understanding project needs and preparing to connect with qualified service providers. The goal is to support informed decisions when choosing local experts for shower grouting work.